 |
| THE best film on the Sudan Wars... |
We've been watching films again. The 1939 version of The Four Feathers, fantastic... SO! Inspiration for another game, coupled with 'Touching History' Issue 3. It has a great article on the Sudan War, The Battle at the Well of Hasheen. We used KISR's De Bellis Colonial rules, Amy took the Heroic Brits & I the Devilish Dervish.
To add spice to the game, we used 'The Glorious Defence or Die' extra rules. This means the game lasts 16 turns, the natives receive extra forces & you fight to the last man... simples!
 |
| The article |
 |
The Heroic British
A 12 point Army, The Egyptians & Navy Boys were classed as poor, half point each.
1 General & 1 Hero...
Reinforcements... 2 Cavalry units. Check each turn, on a roll of double 1 or 6. |
 |
Boo Hiss Boo Dervish
24 points, 4 Shooters, 14 Natives, 6 Cavalry.
2 Generals |
 |
| The Battlefield |
 |
| Attack |
 |
| The Zariba & the village... |
 |
| Sneaky Dervish Shooters |
 |
| War cry of the Dervish.... |
 |
| Dervish attack from the East |
 |
| In range of the Gatling.... |
 |
| Amy shifts the Gardiner Gun.... |
 |
| Speed is the key before those bullets count... |
 |
| The shooters move towards the Gardiner Gun |
 |
| In full swing now.. |
 |
| Oh NO! The British Gatling Gun is a gonner... |
 |
| The Dervishes are swarming the Zariba. |
 |
| The Navy boys are spot on. |
 |
| The Navy boys move across, only to be wiped out... |
 |
| British Firepower... |
 |
| The Gardiner is warming up... |
 |
| Poor PiPs for the Dervish & they are left standing still.. |
 |
| More British Firepower... |
 |
| Turn 6 - The Dervish are moving again... |
 |
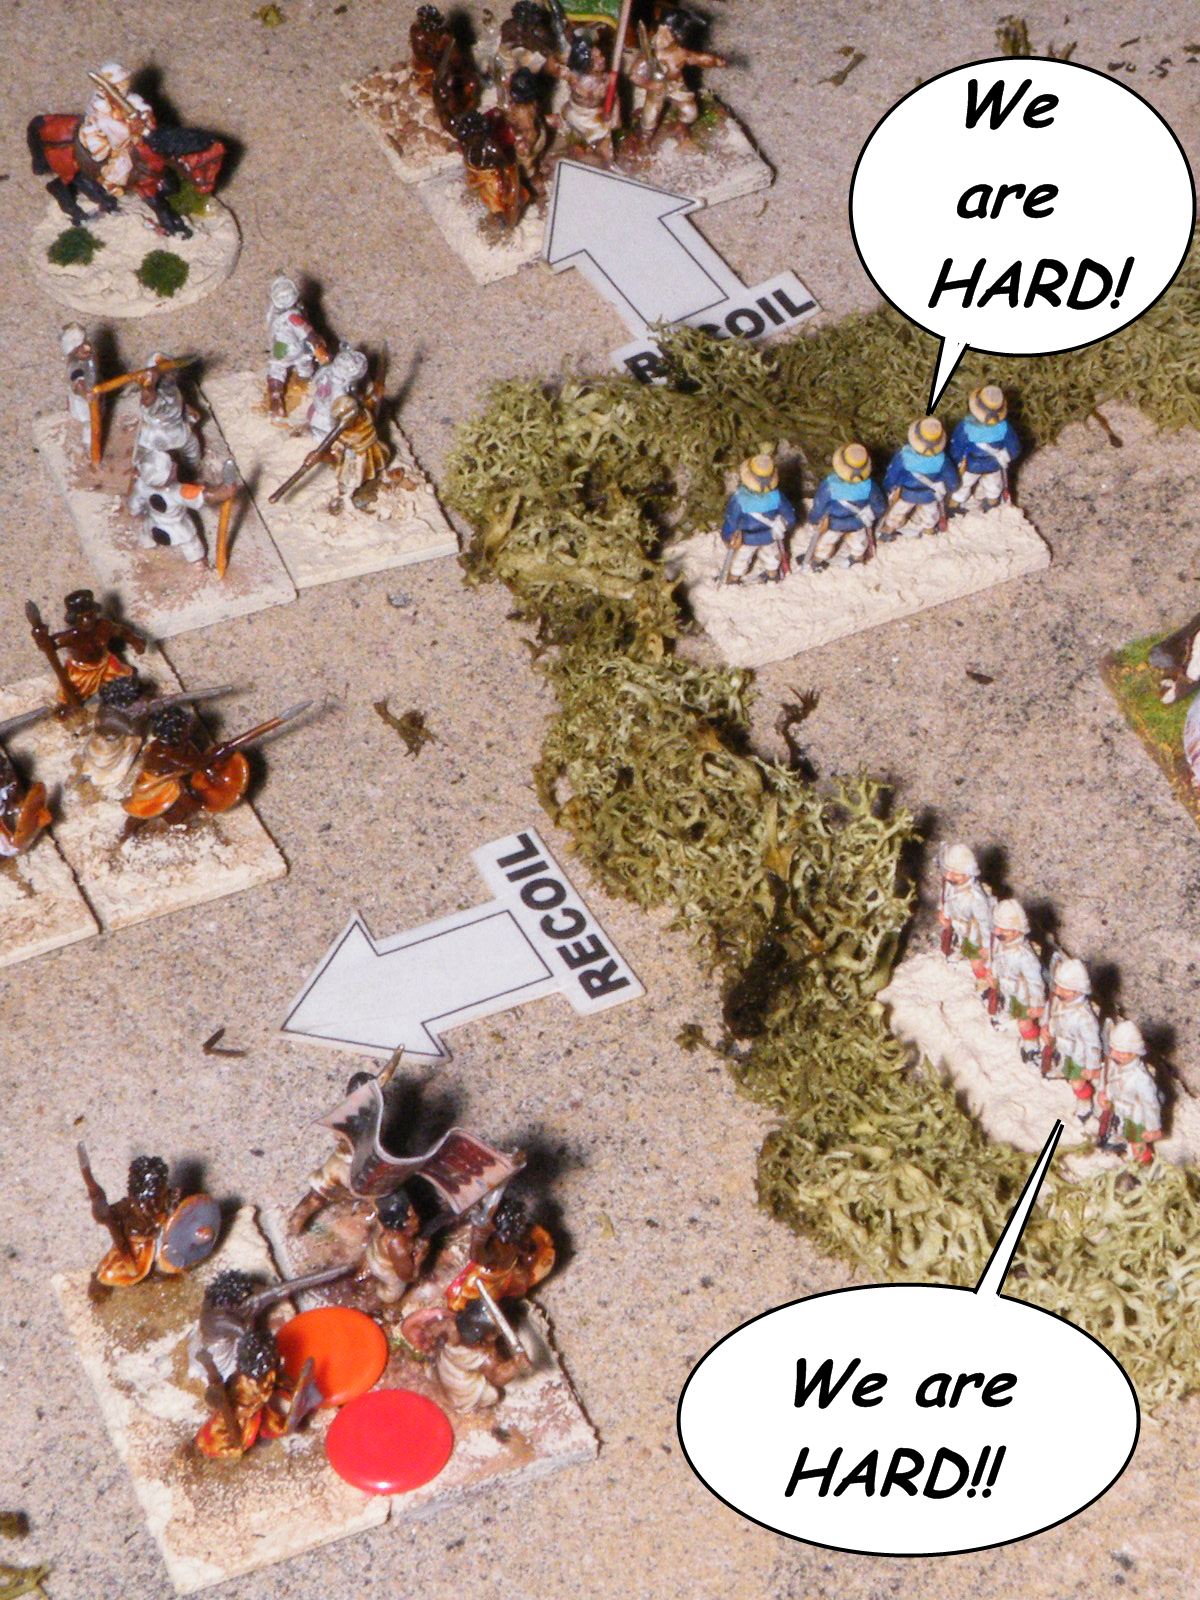
| Amy just keeps knocking them back... |
 |
| The Mountain Gun is destroyed! |
 |
| Amy's hooping out loud! |
 |
| Come on the Dervish Camels... |
 |
| HA! The Gardiner Gun comes up short... |
 |
| Casualties are heavy for both sides... |
 |
| 'Hero' Captain Durrance is daydreaming. |
 |
| Still knocking them Dervishes dead... |
 |
| Amy's Highlanders are doing the biz..... |
 |
| Dervish Camel power...! |
 |
| Oh... The Dervish are slowly turning it around... |
 |
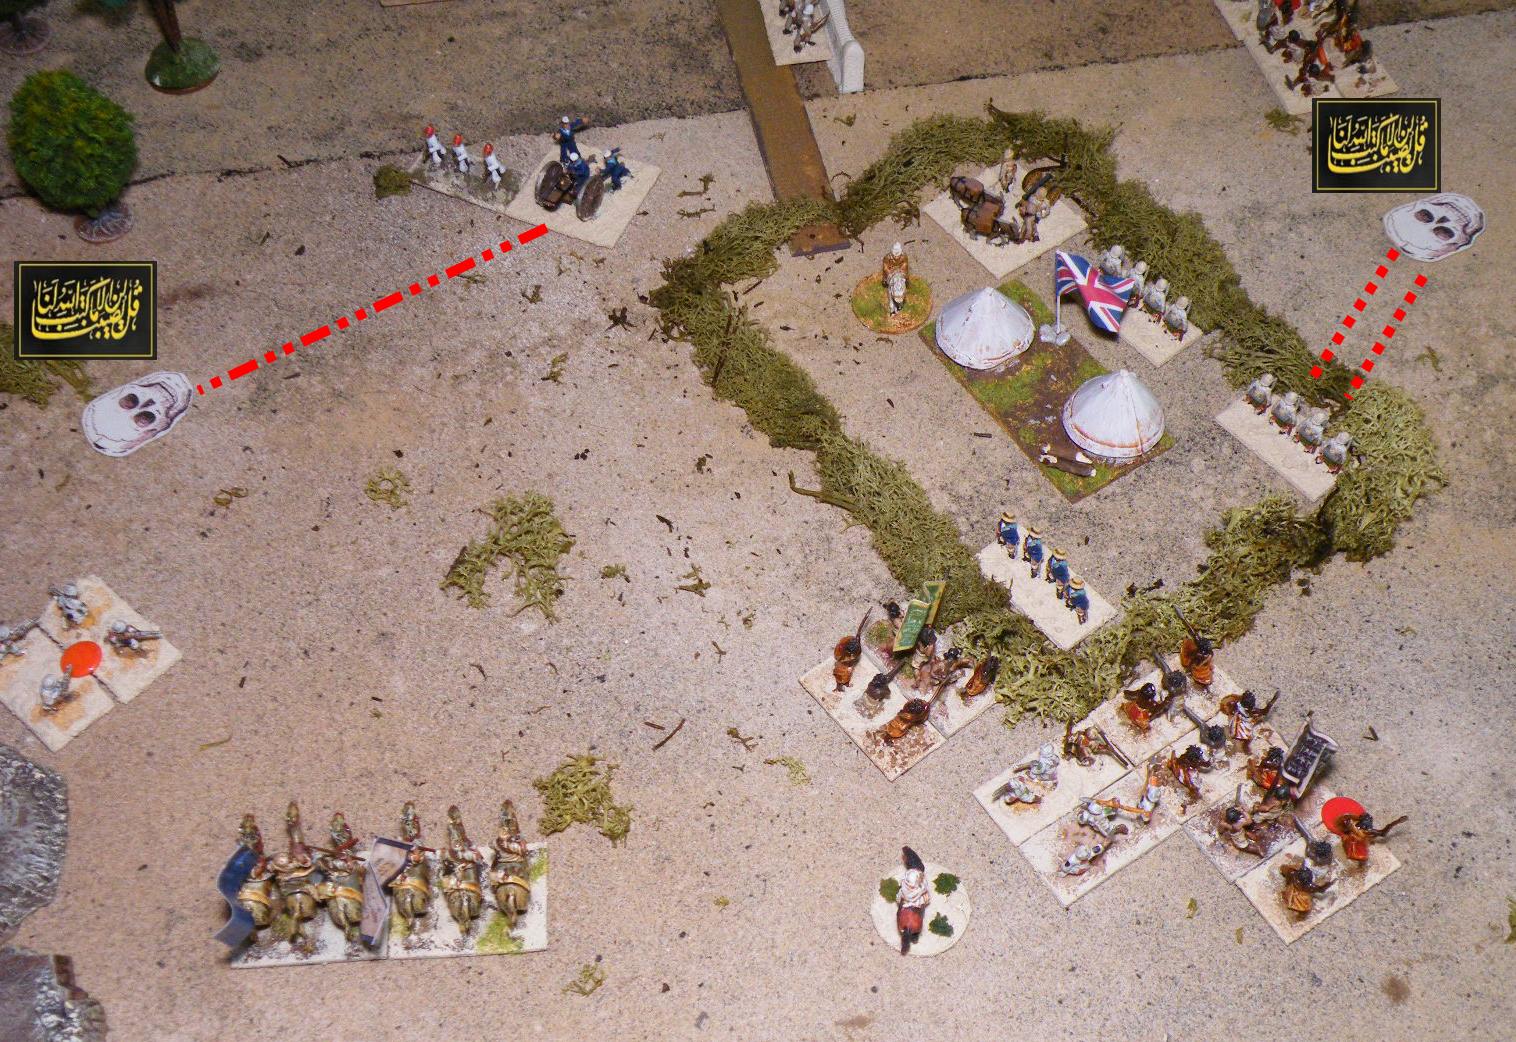
| Battle overview.. Could the Dervish take the Zariba? |
 |
| The Egyptians have done well. |
 |
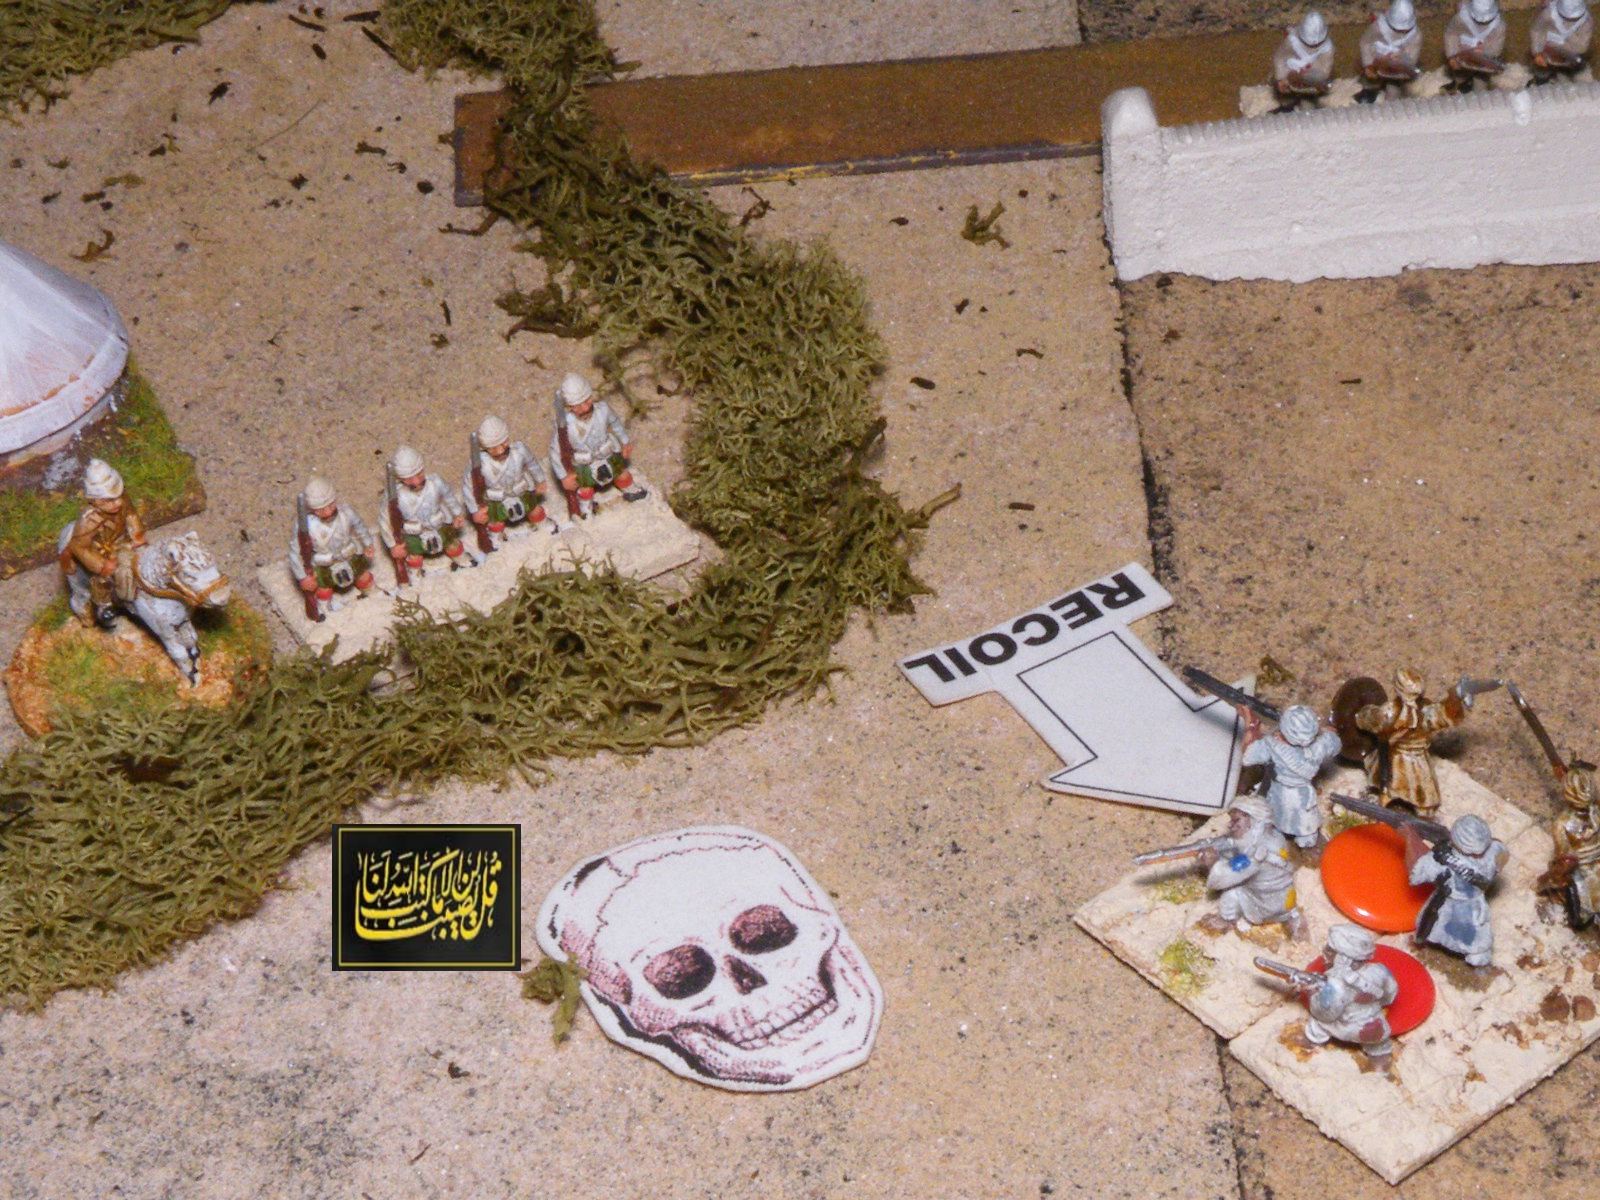
| Still knocking 'em back, but the Dervish have broke through the Zariba on the other side. |
 |
| Amy's howling... Come on, can I make this one count..? |
 |
| The troops bite the dust & Durrance pegs it. |
 |
| Overkill..... |
 |
| I'm running out of Dervish foot troops.... |
 |
| Ha! Haa! HA!! |
 |
| Carry on Up the Khyber moment... Amy's in stitches! |
 |
| It's been a bloodbath... |
 |
| Cue the bagpipes.... |
 |
| 1 Dervish Infantry left..... I've had enough. Game over the Brits take the day... |
What a bloodbath! Amy's victorious & the British Flag flies over Hasheen. Where did it go wrong for the Dervish? Probably turns 3 - 5, PiPs were awful & the entire Dervish Army just seemed to stand there & be shot to bits! SPEED SPEED SPEED, to win with the Natives you need to go hand to hand... Great game again.
 |
| oh shut up... |


![Pom the Panda [completed]](https://blogger.googleusercontent.com/img/b/R29vZ2xl/AVvXsEi9g6zyNSW4C5DR0kJVkCwXH30nMn0_VQNlFnycJlQVLb1EzDr5W6iaGH6K8uGKyg7KOOU3ePOywLxAkezWvWBYdbEh9TU2nt4-hGh8iangzxEn2PmAda8R6x4iku5lepEYC9eG2Q7a_LU/w100/pom_promo.jpg)


0 Comments